![[ POTM WINNER ]](images/potm/potm1.png?m=1714825103)


 Tweet
Tweet
Originally posted by MattG
View Post
-
Fud 2 -
Lol
Sent from my Pixel 4 using Tapatalk
Comment
-
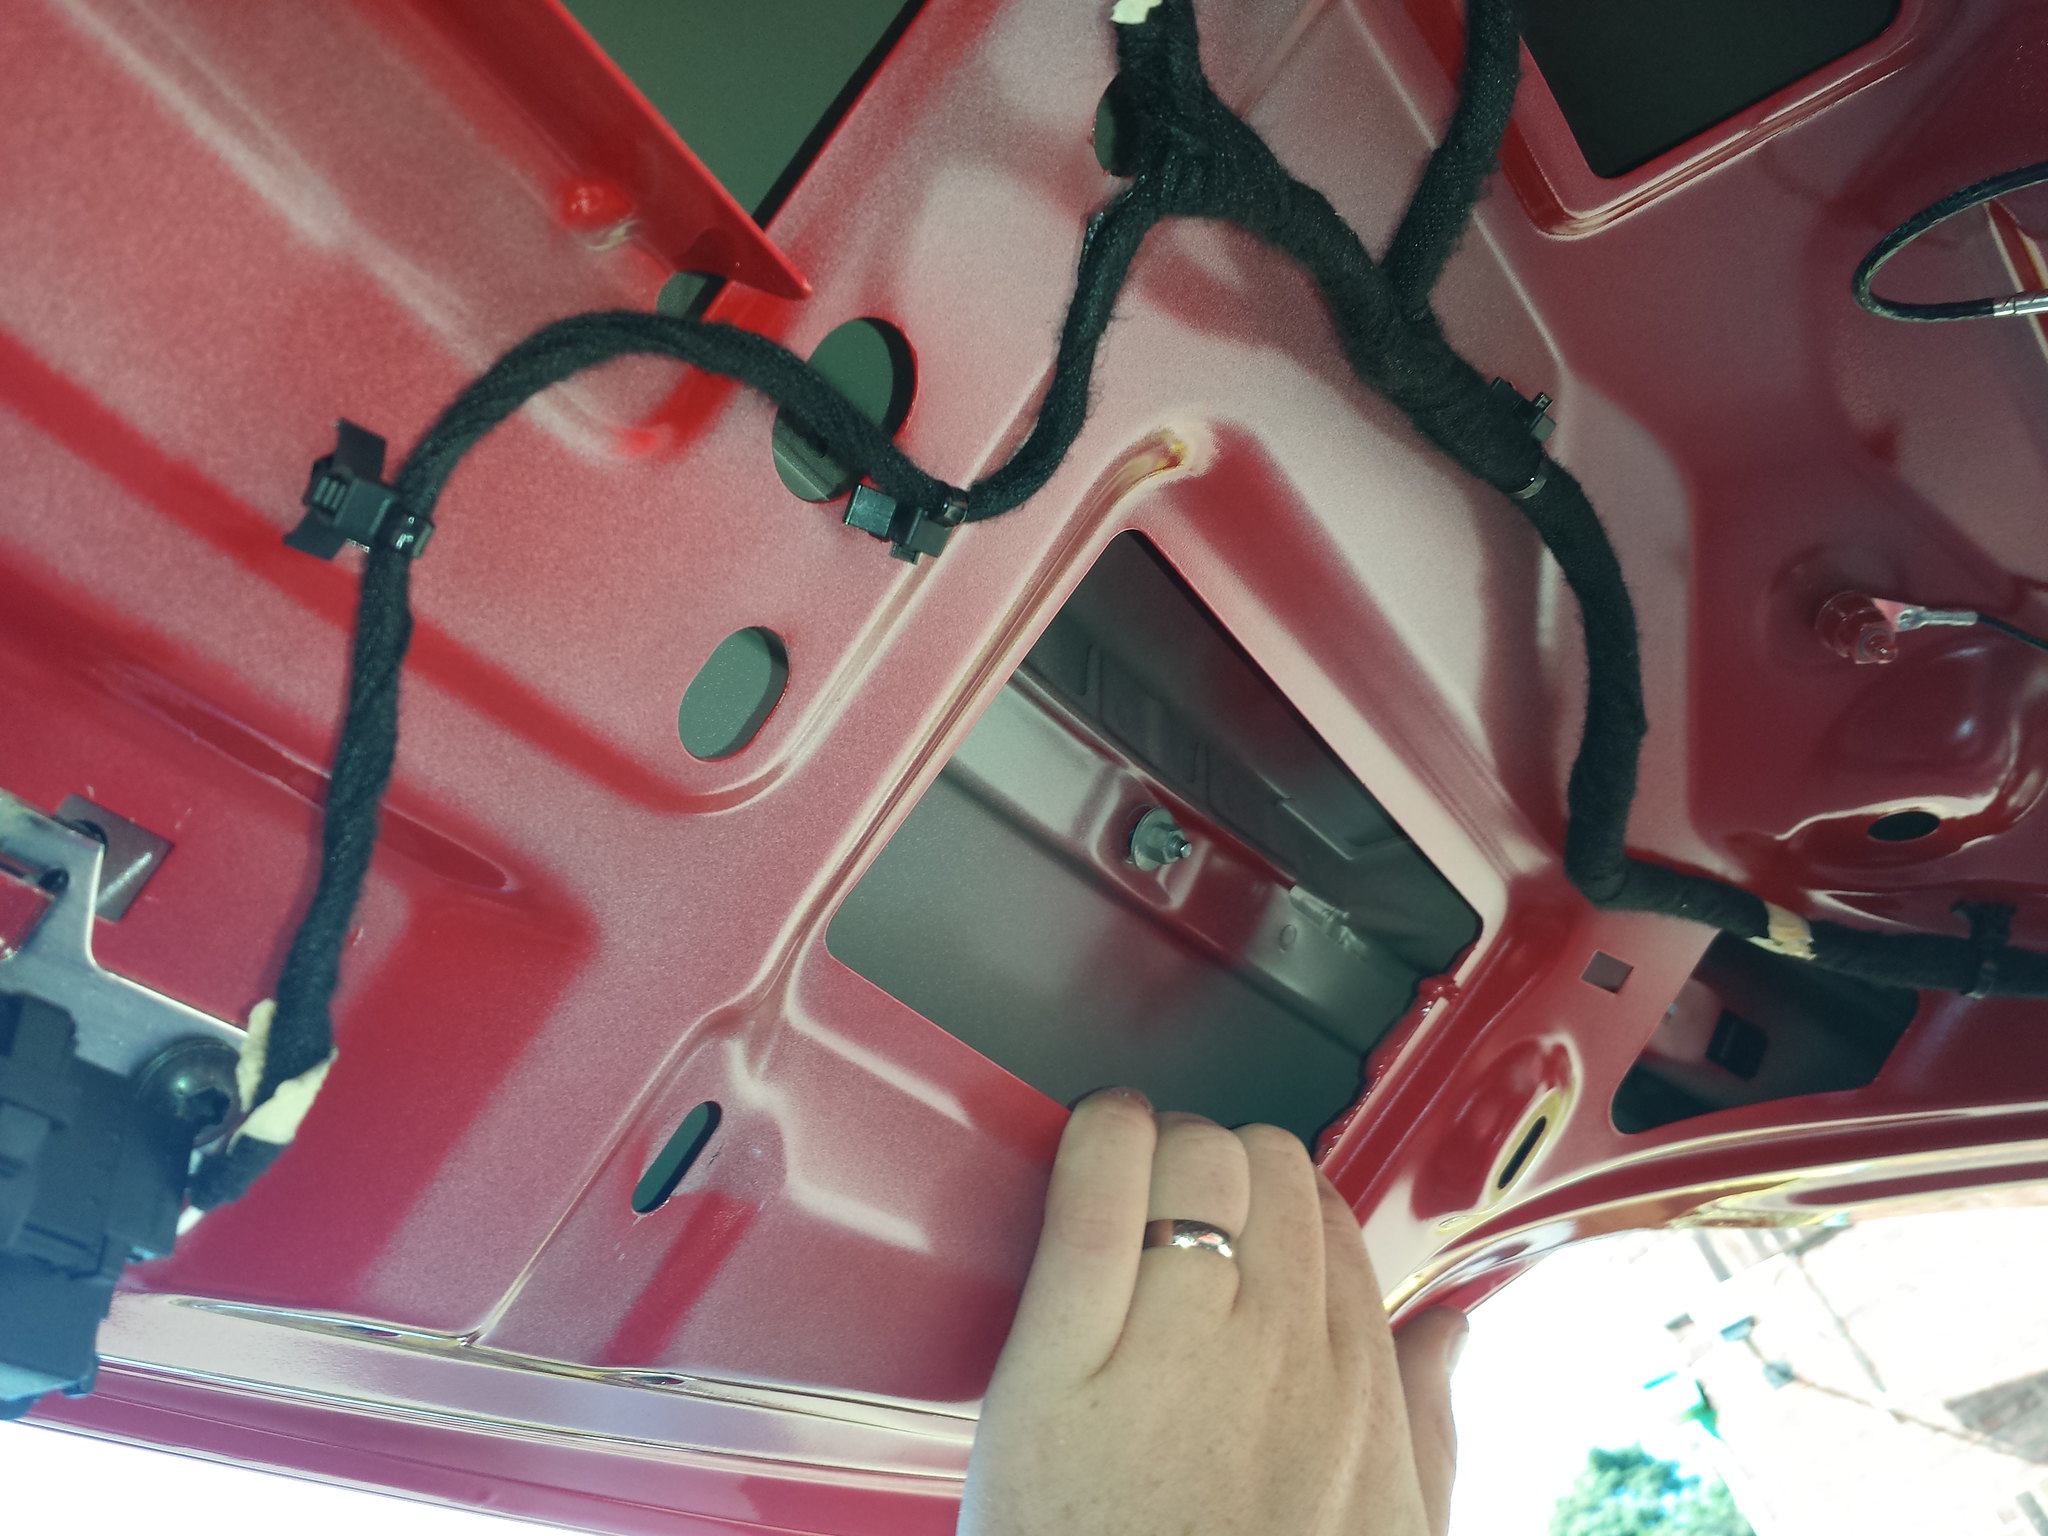
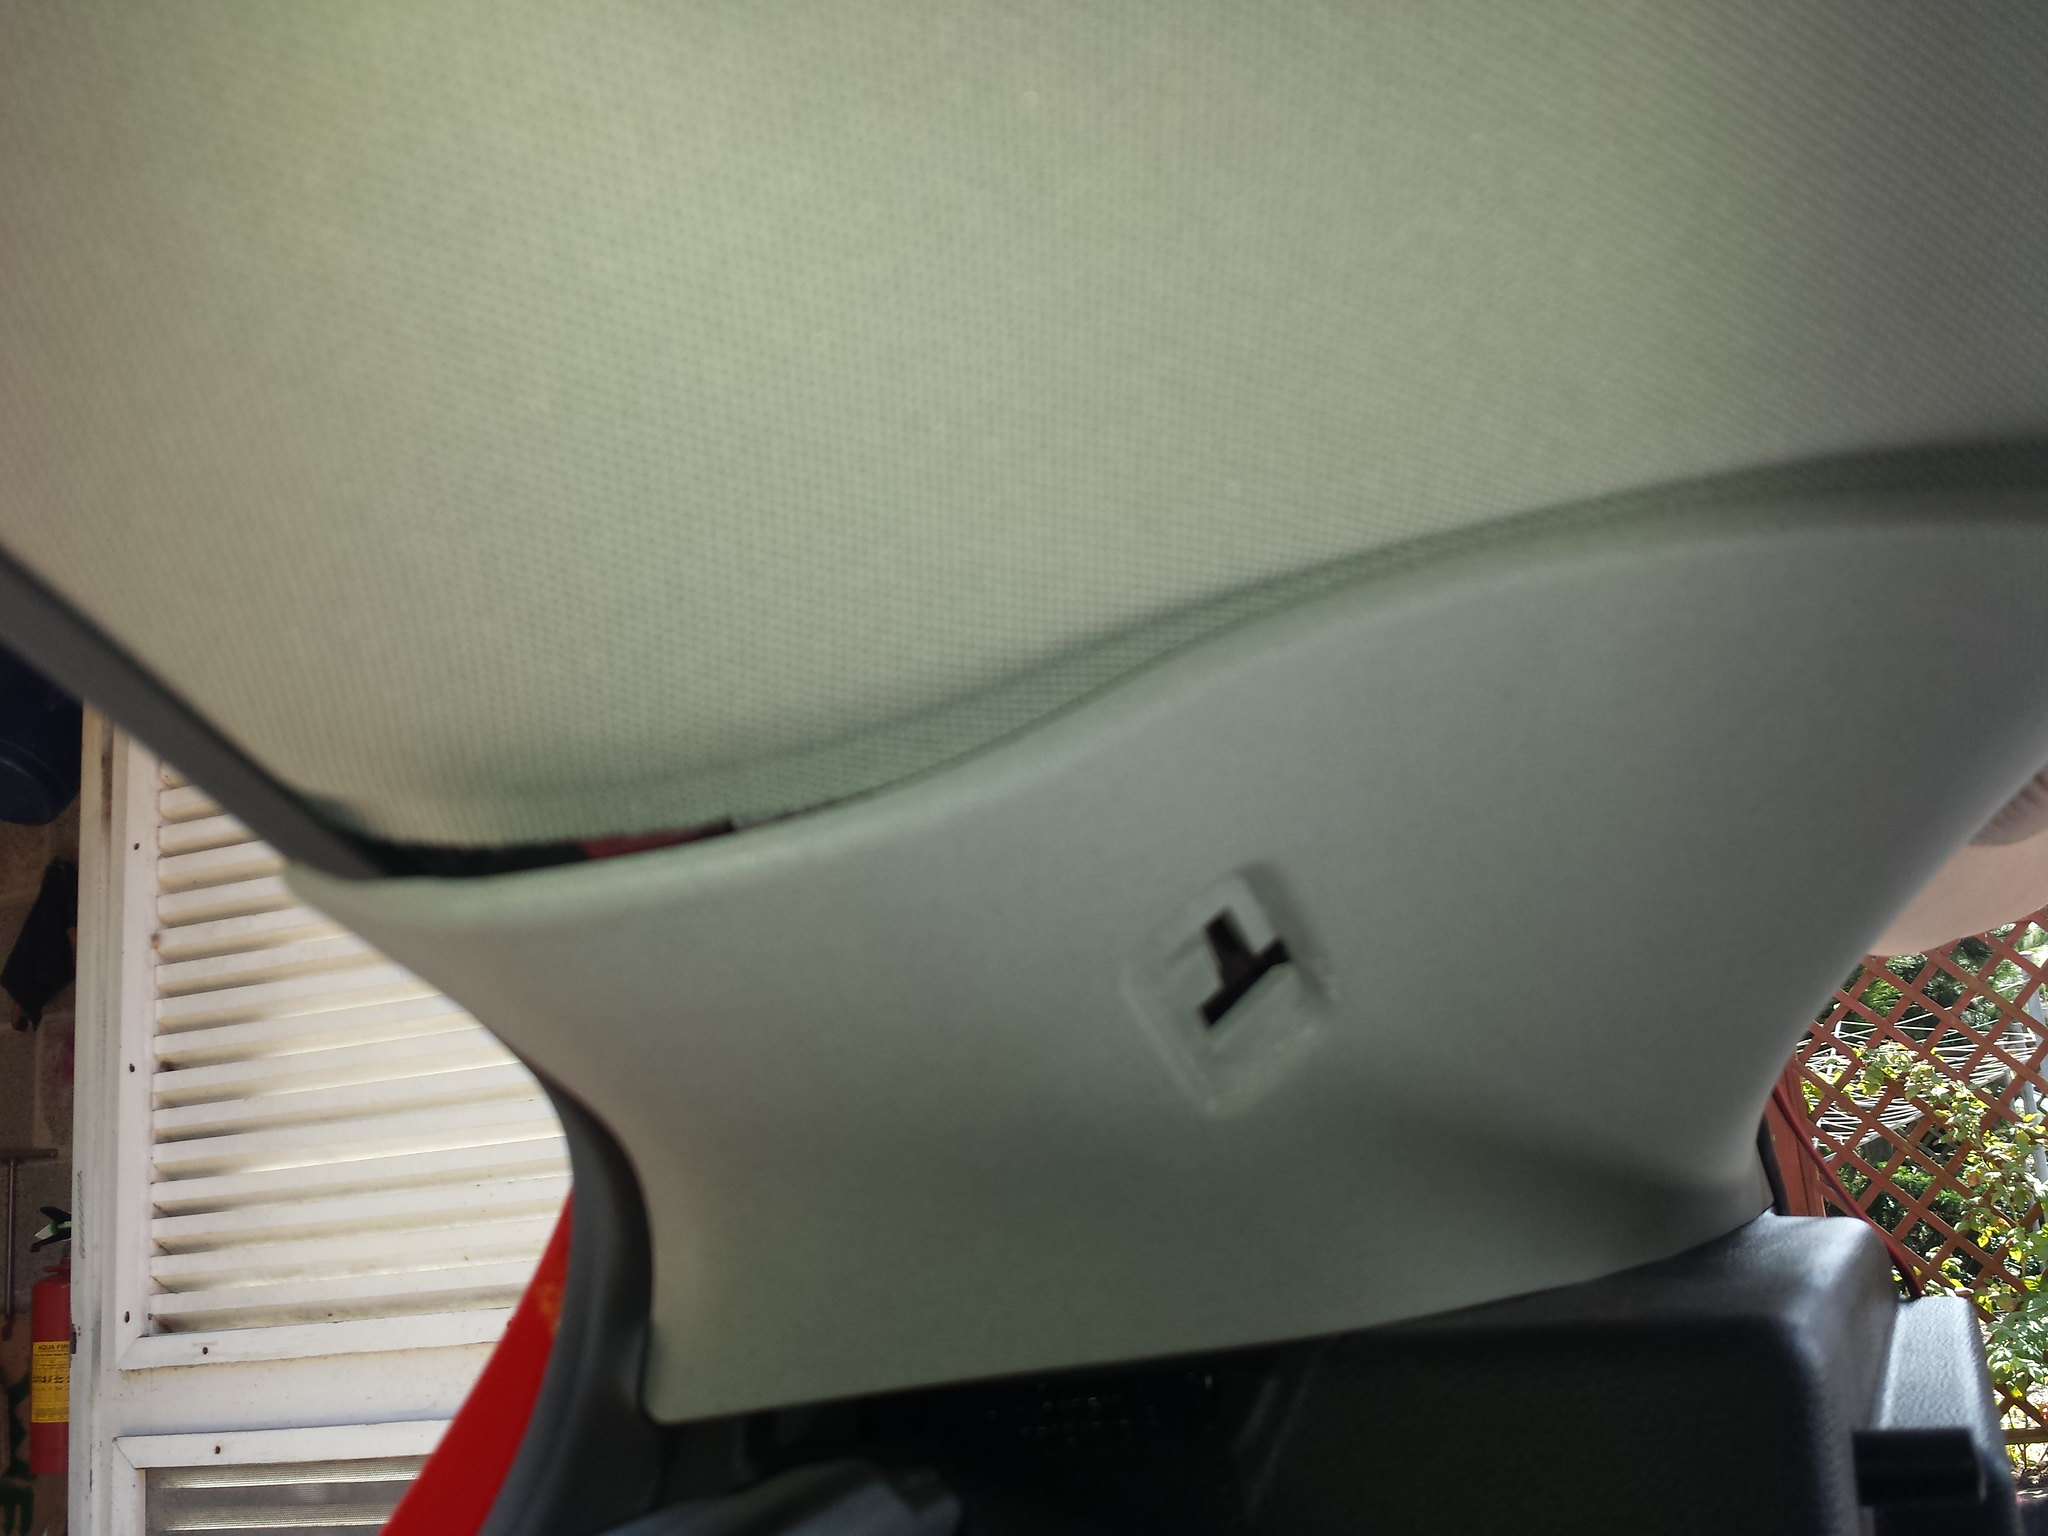
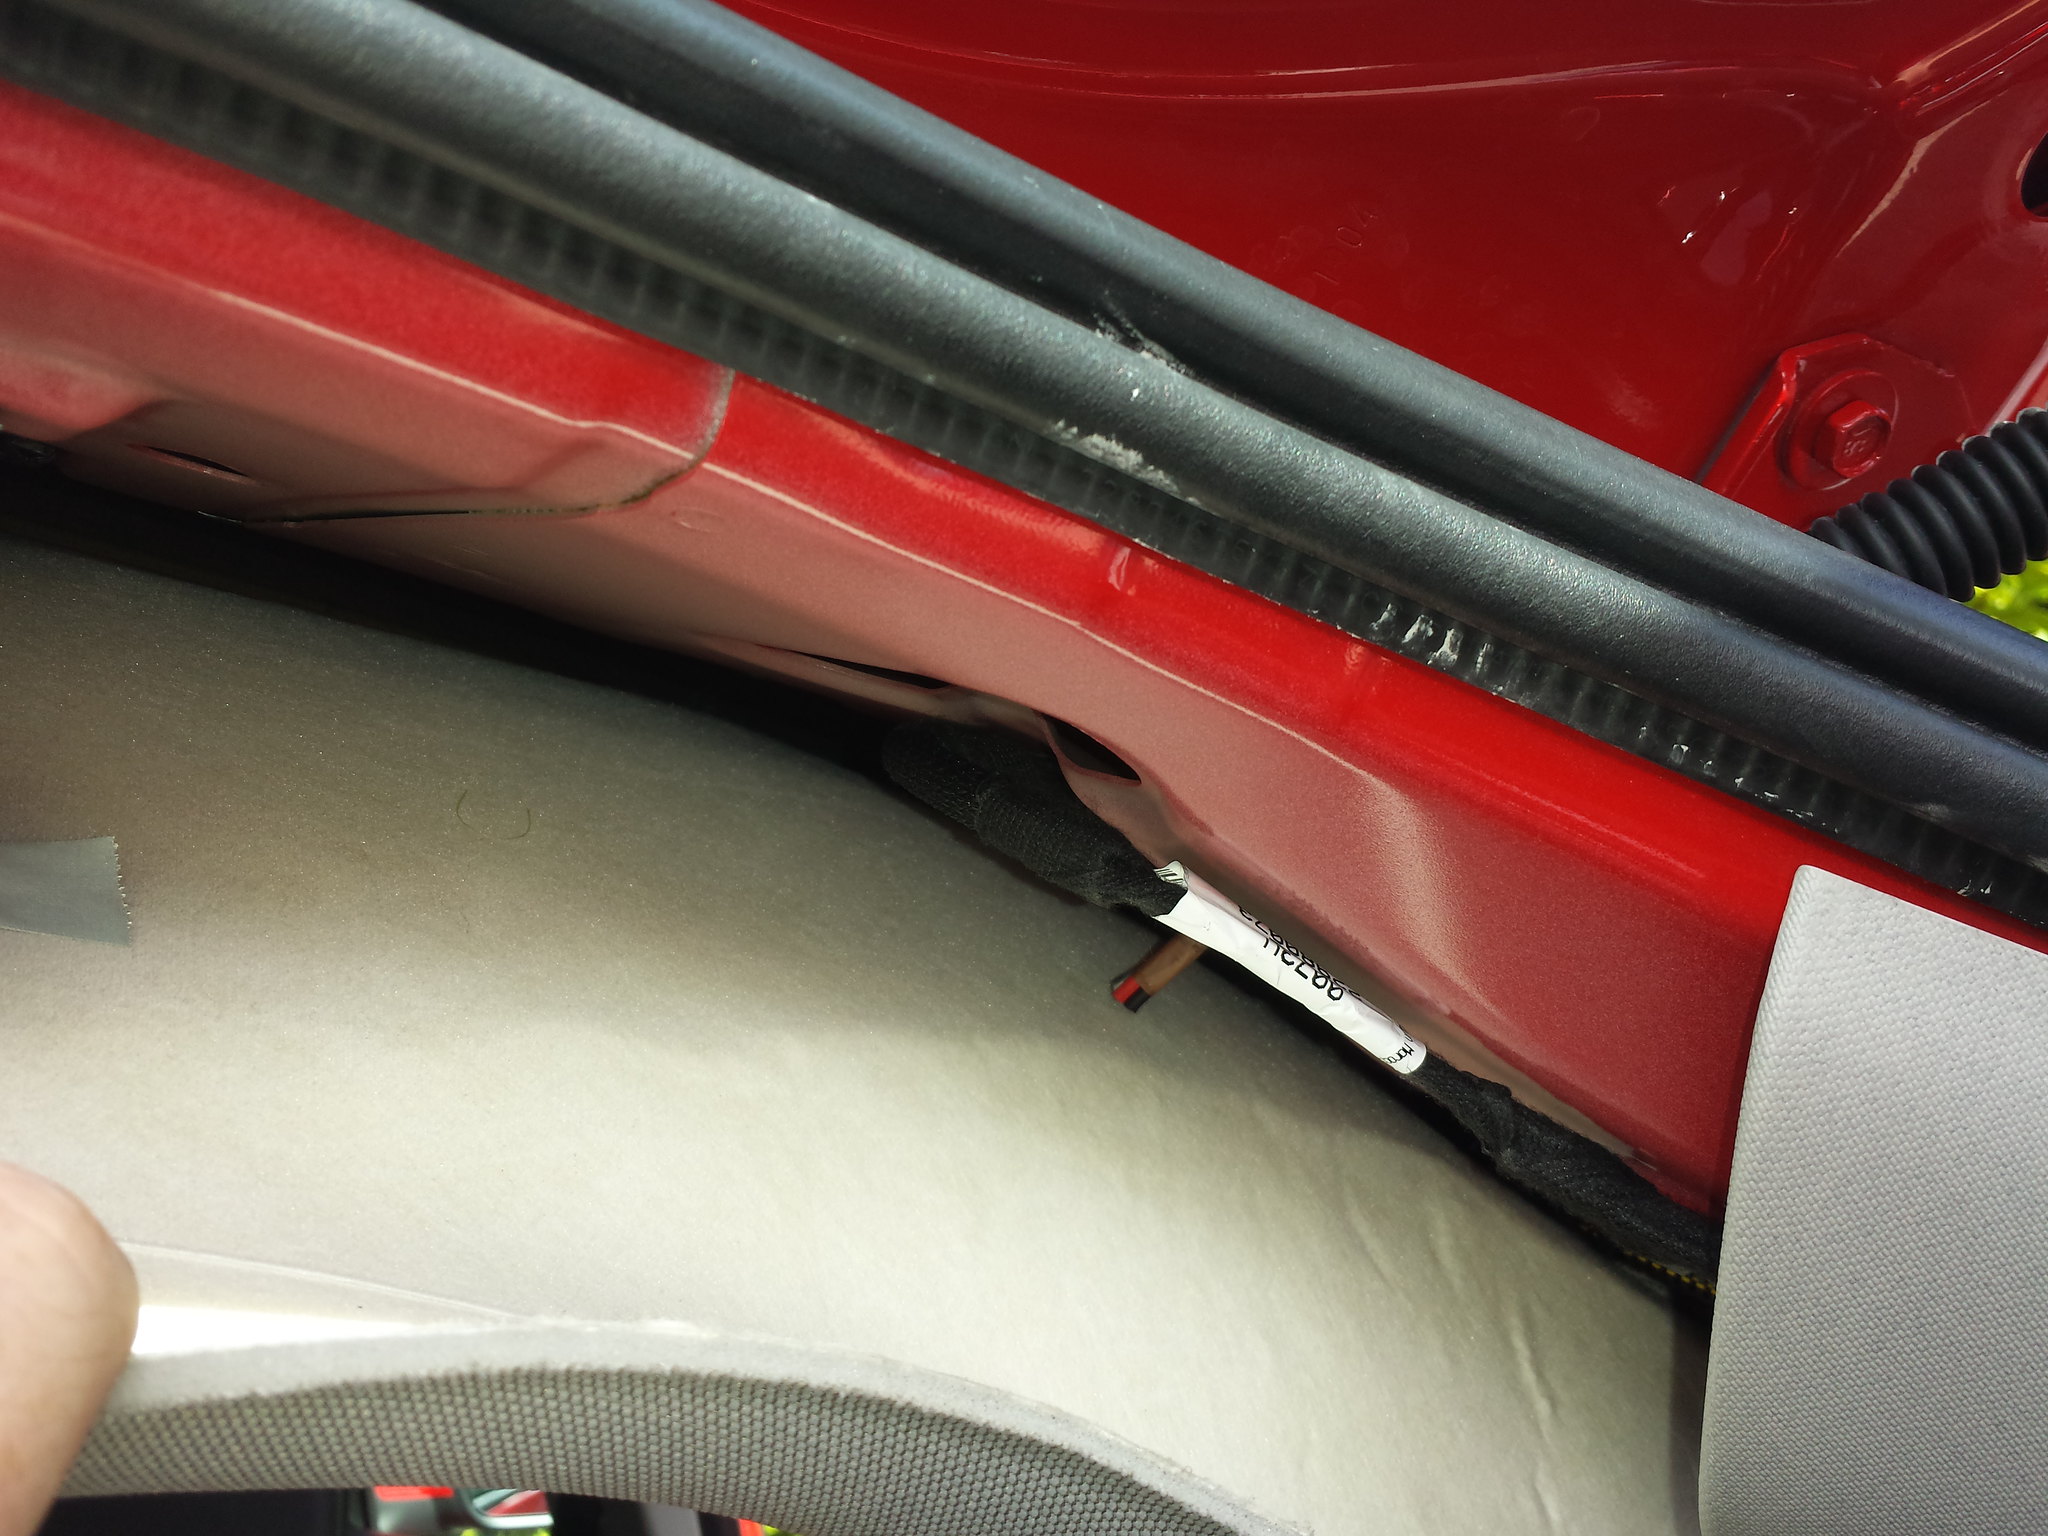
Morning all I managed to pull the cover all the way off how the he'll does it go back on
Sent from my SM-G975F using Tapatalk
siggy 1.6 vx line from sunny Dumbarton few mods to do to get it how I want itComment
-
-
Cheers fella will give it a go was gona try double sided tapeOriginally posted by RBH View Post
Sent from my SM-G975F using Tapatalk
siggy 1.6 vx line from sunny Dumbarton few mods to do to get it how I want itComment
-
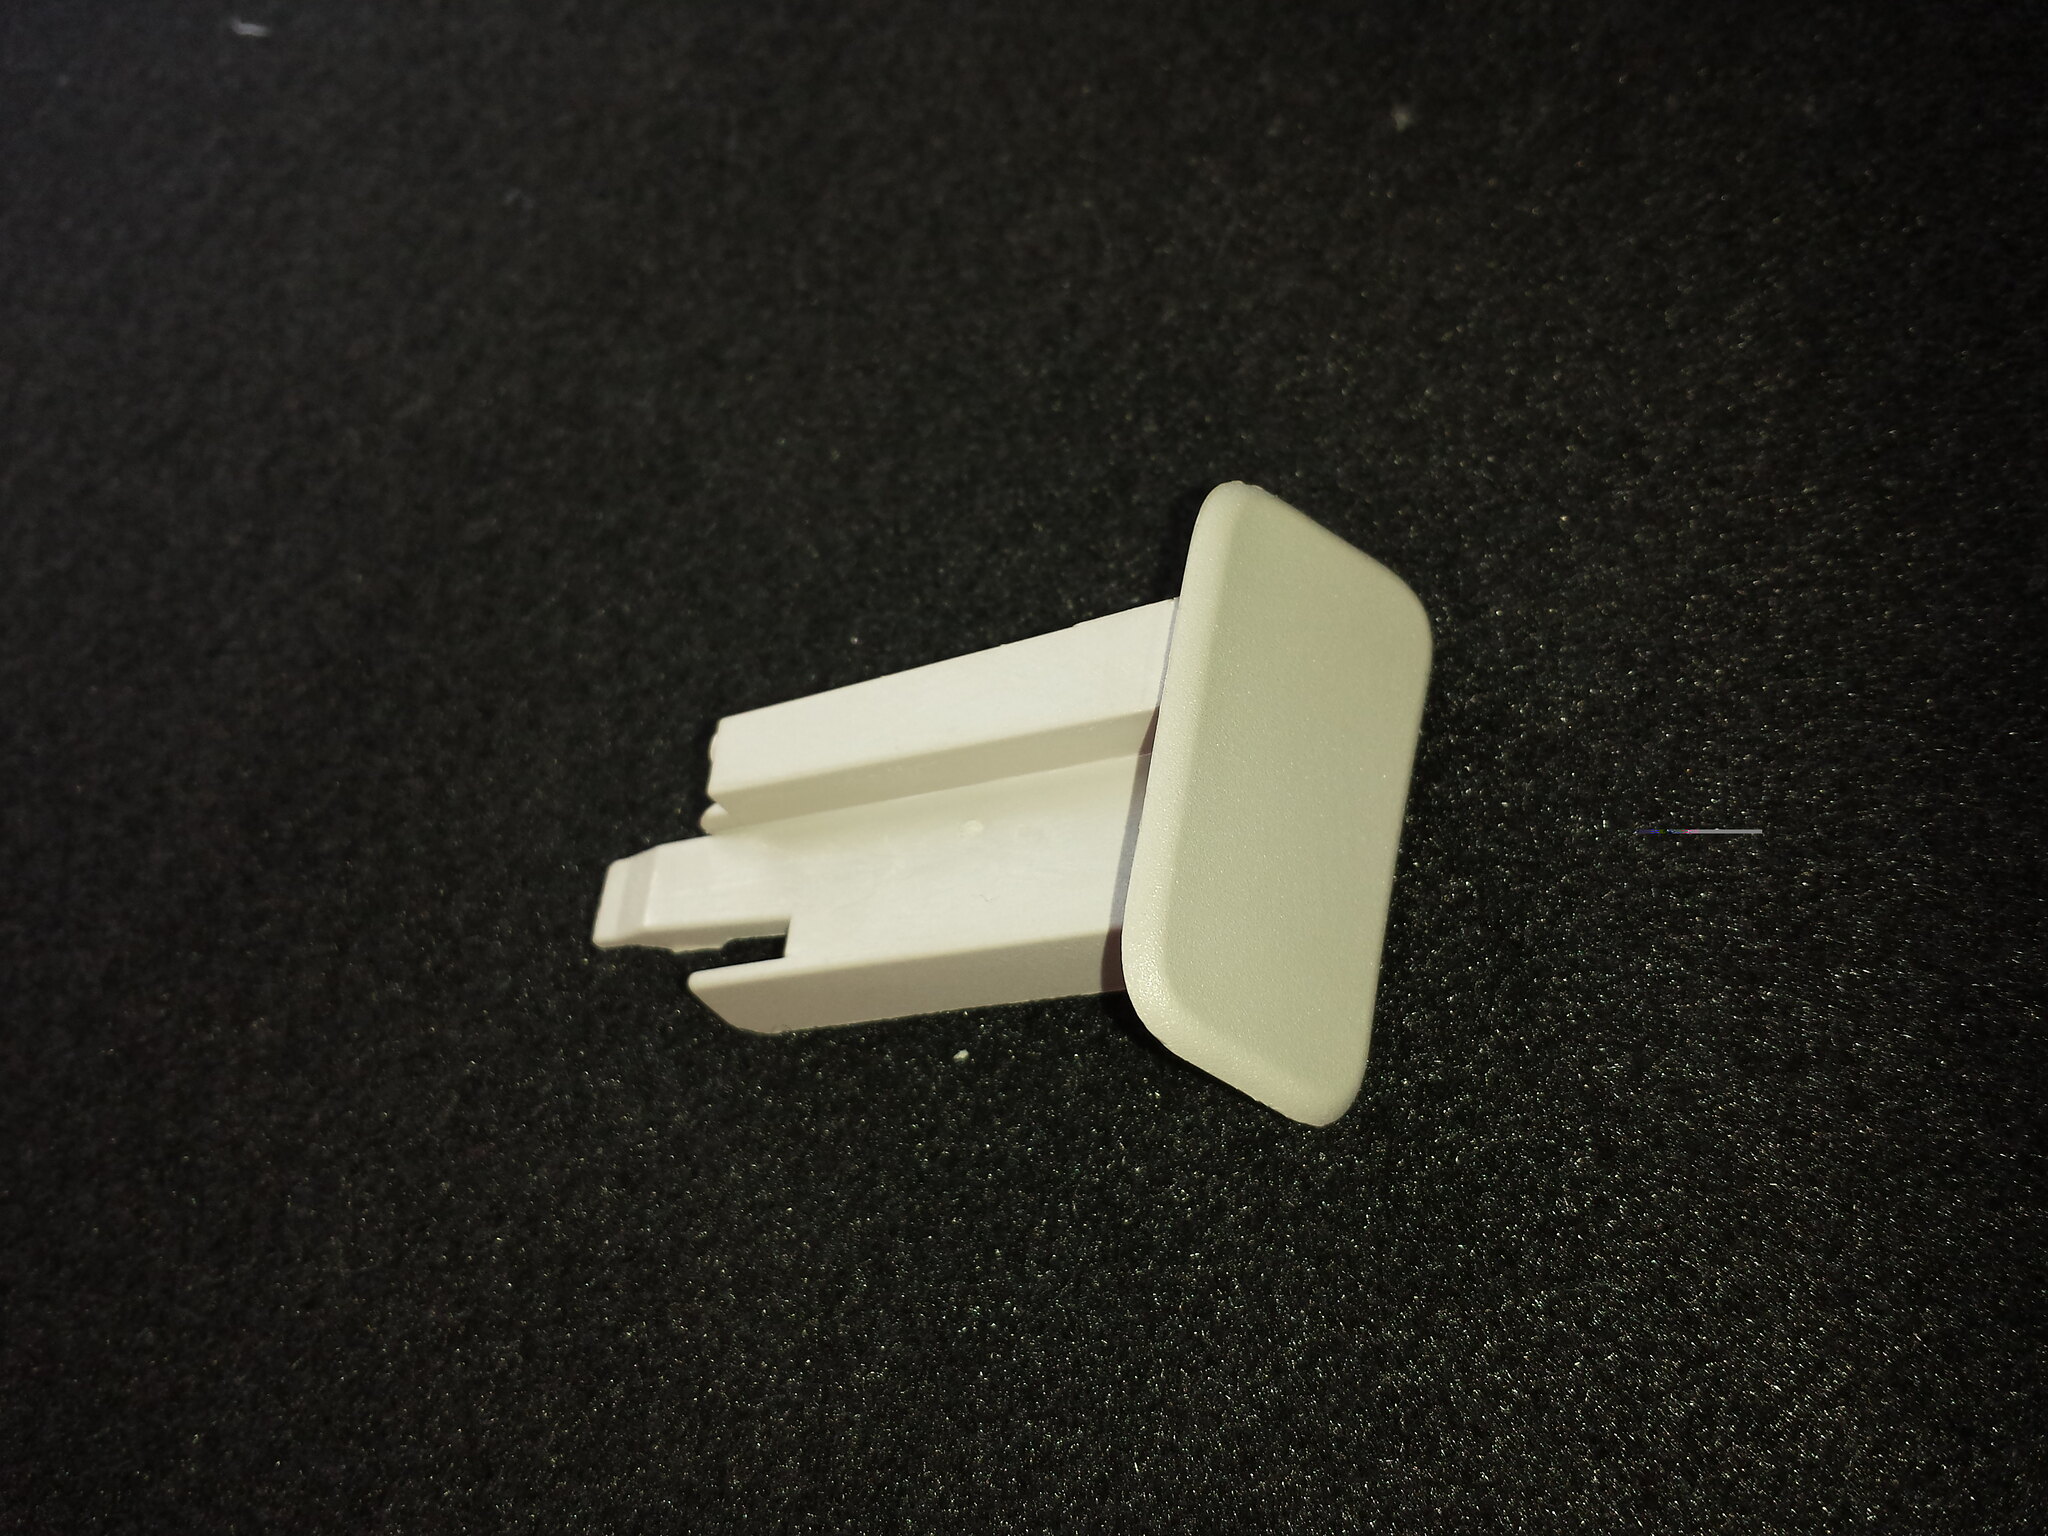
There should be clips on the trip that push into the body.Originally posted by Smig64 View Post
the white square plug is supposed to be pulled out first then the trim pulls off.
Then obviously once the trim is on, the plug pushed back in.Comment
-
Anyone know the price of these lightsOriginally posted by marko301 View Post
Sent from my SM-G975F using Tapatalk
siggy 1.6 vx line from sunny Dumbarton few mods to do to get it how I want itComment
-
Around Ł90 - Ł100Originally posted by Smig64 View Post2017 Vauxhall Insignia Grand Sport Sri Nav 1.5 (165ps) Turbo petrol in Lava Red - Keyless entry and start - 18” five spoke alloy wheels - Front fog lights - Tinted rear windows - Aluminium sports pedals - Ambient interior led lighting - Front and rear parking assist - Active emergency braking - Forward collision assist - Front pedestrian alert - Traffic sign recognition - Lane keep assist - Cruise control - Speed warning and limiter - Voice recognition - Bluetooth - Duel zone climate control - Front and rear electric windows - High beam assist - Auto lights - Auto wipers - Wifi hotspot - 8” colour touchscreen Navi 900 with Android Auto, Apple Car Play and DABComment
-
siggy 1.6 vx line from sunny Dumbarton few mods to do to get it how I want itComment
-
Hence my post a whole ago.....about doing the lights.Originally posted by Smig64 View Post
Now, with you asking about pricing......I thought you were making your own??Comment
-
Alright buddy I have made my own as a short term measure was just thinking long termOriginally posted by RBH View Post
Sent from my SM-G975F using Tapatalk
siggy 1.6 vx line from sunny Dumbarton few mods to do to get it how I want itComment
-
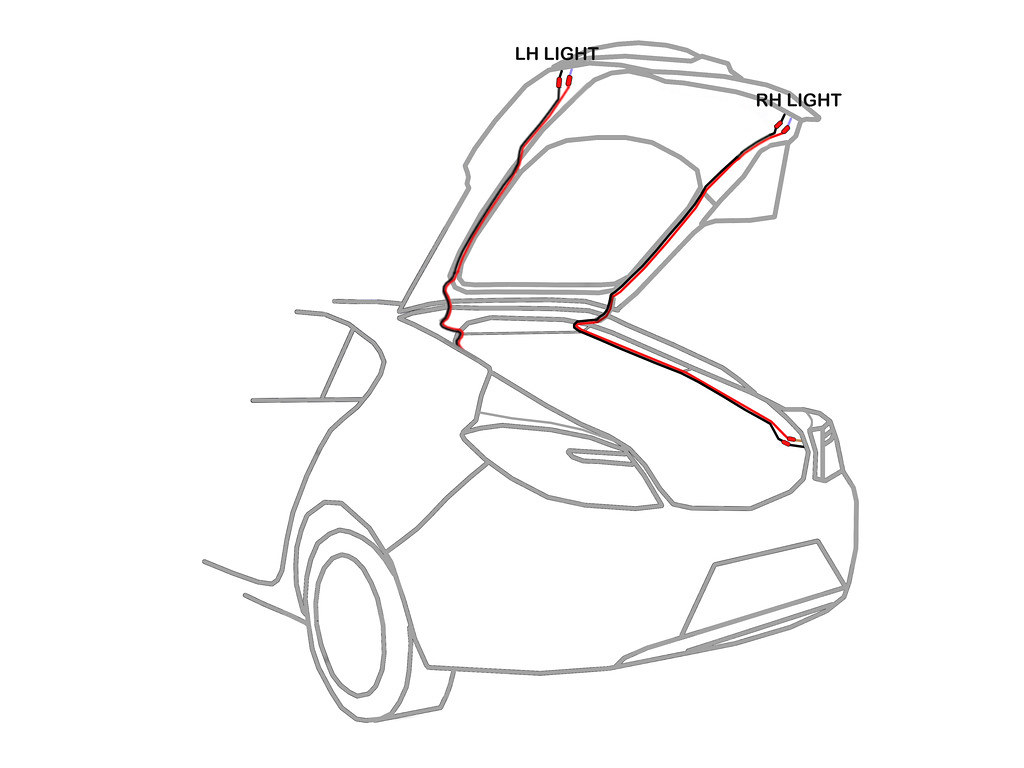
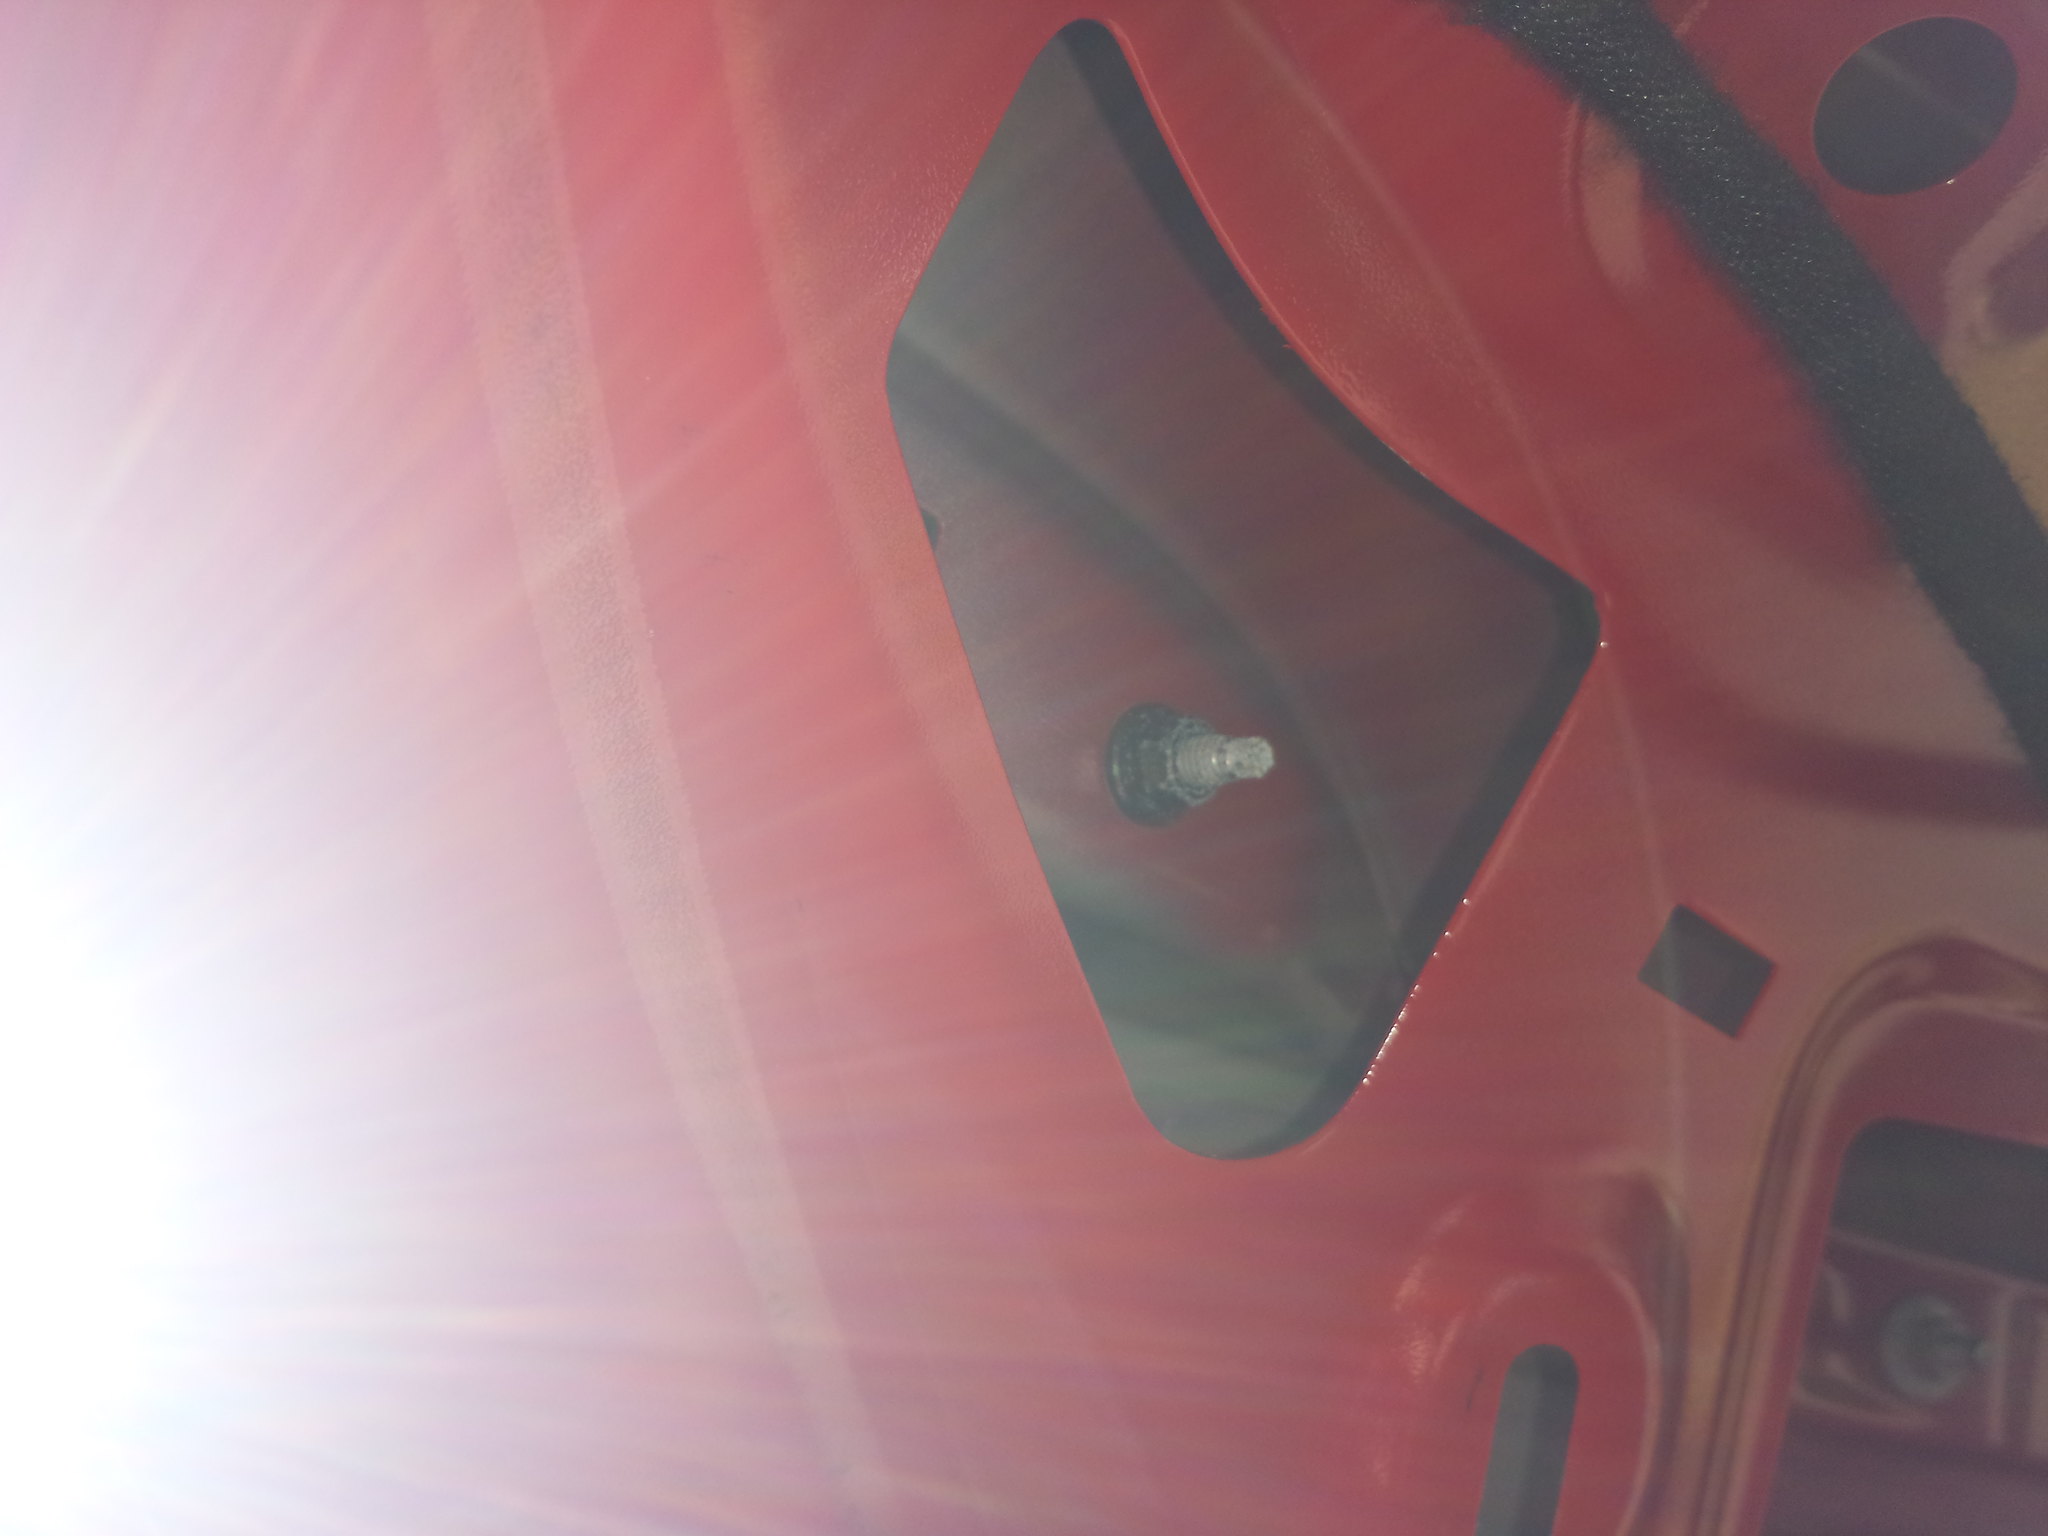
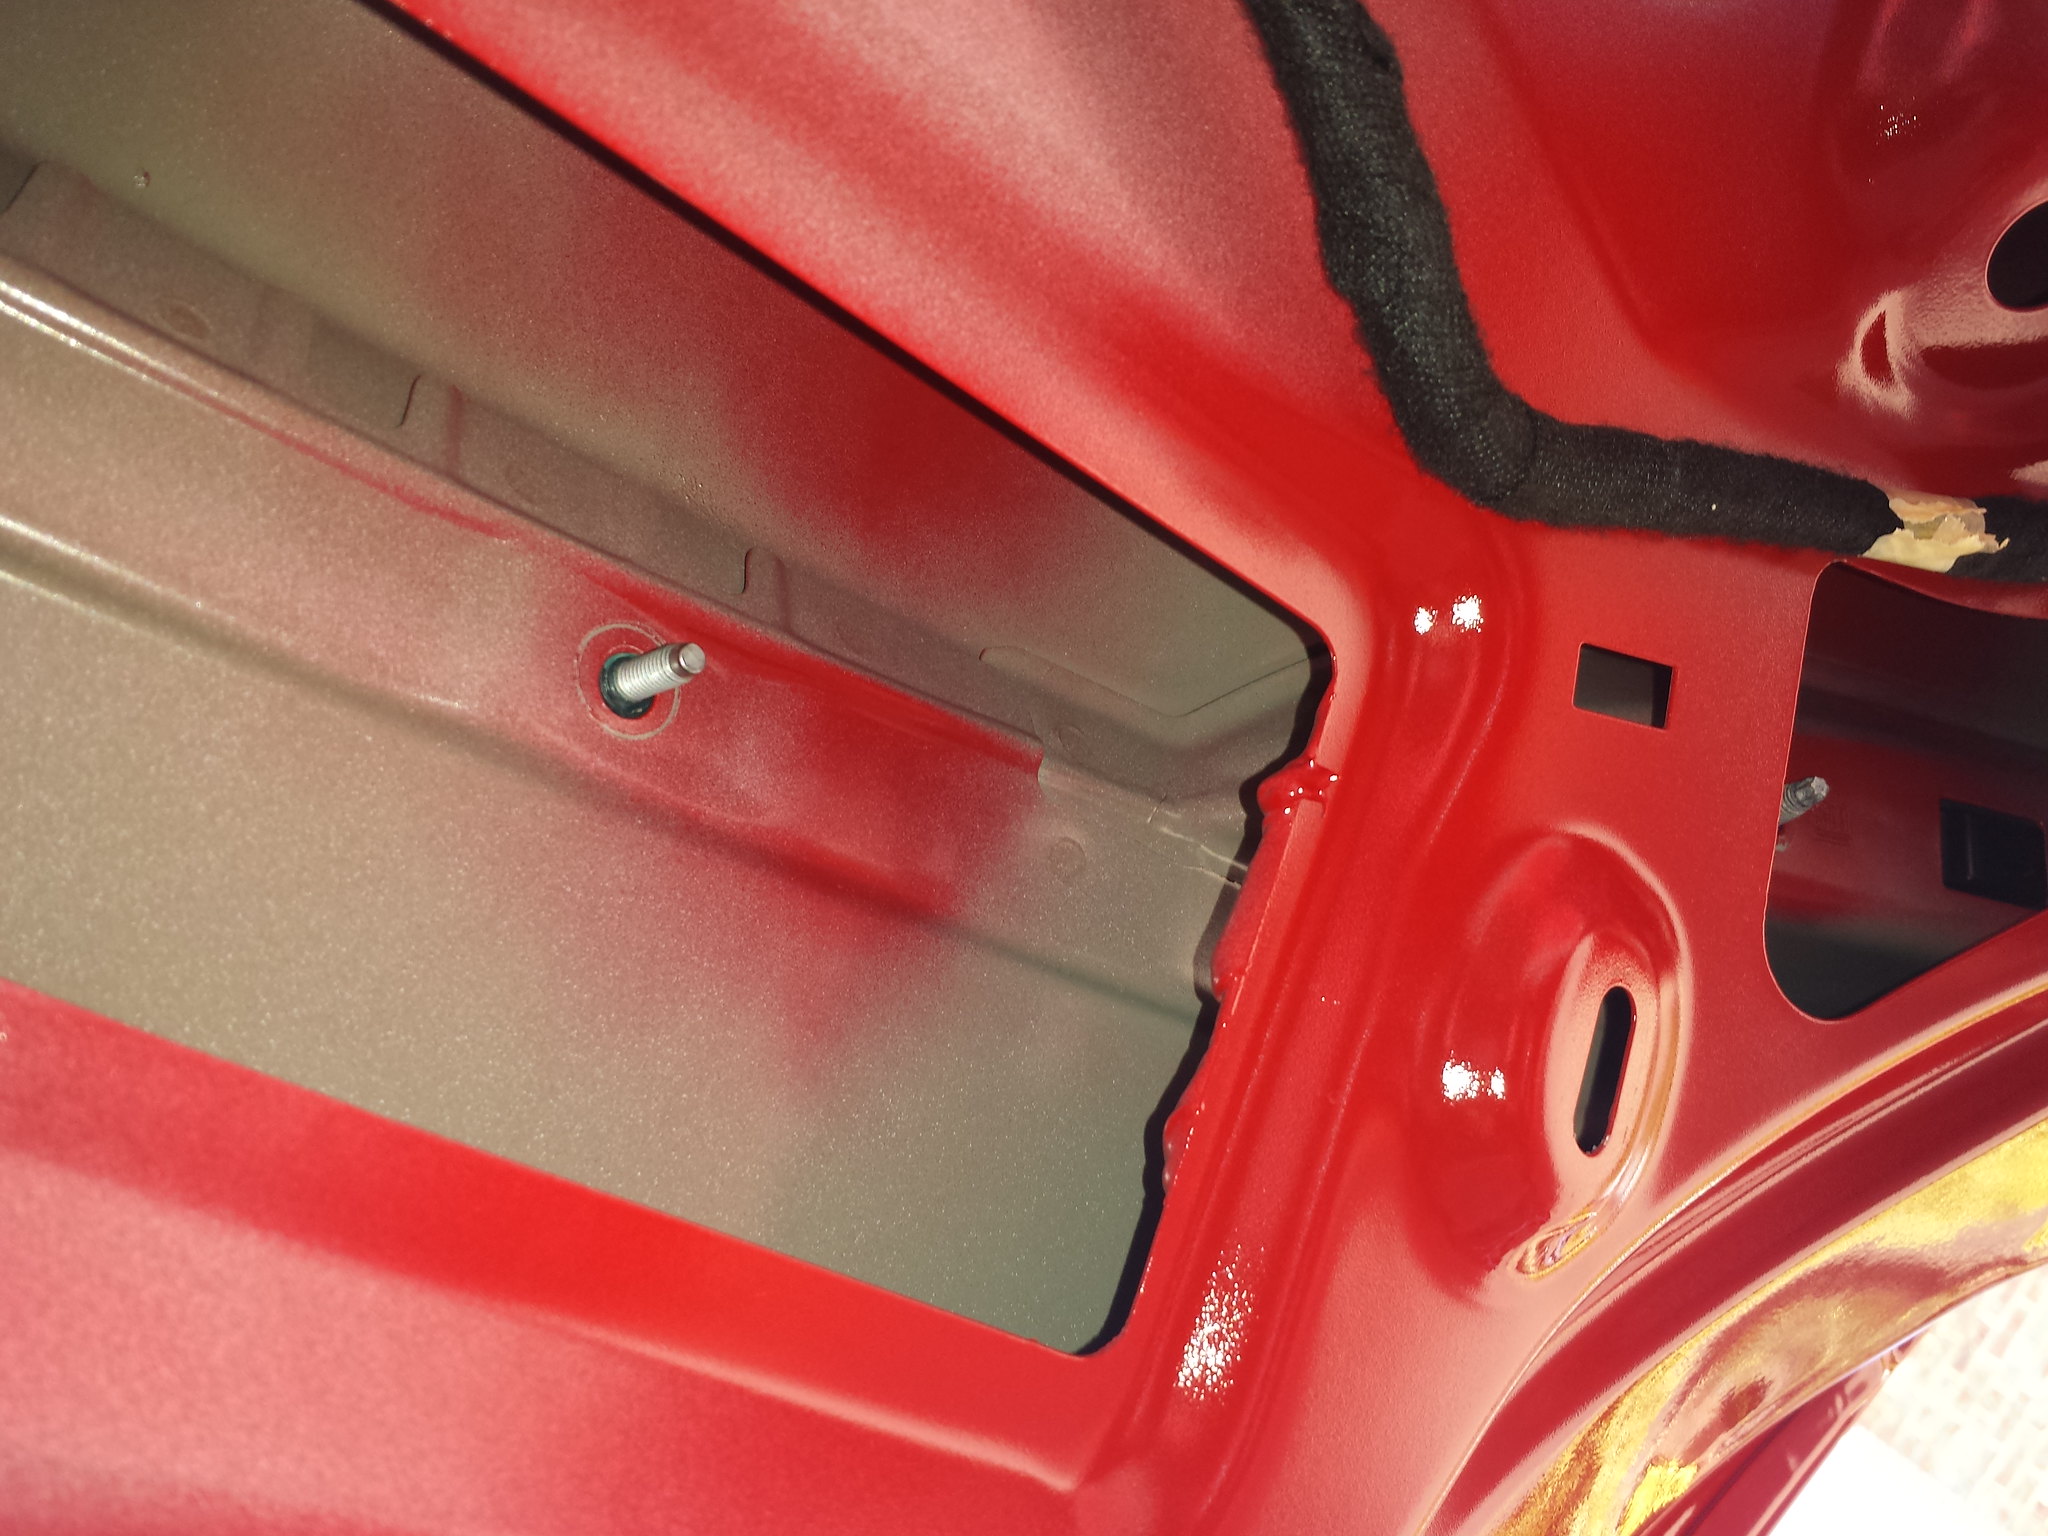
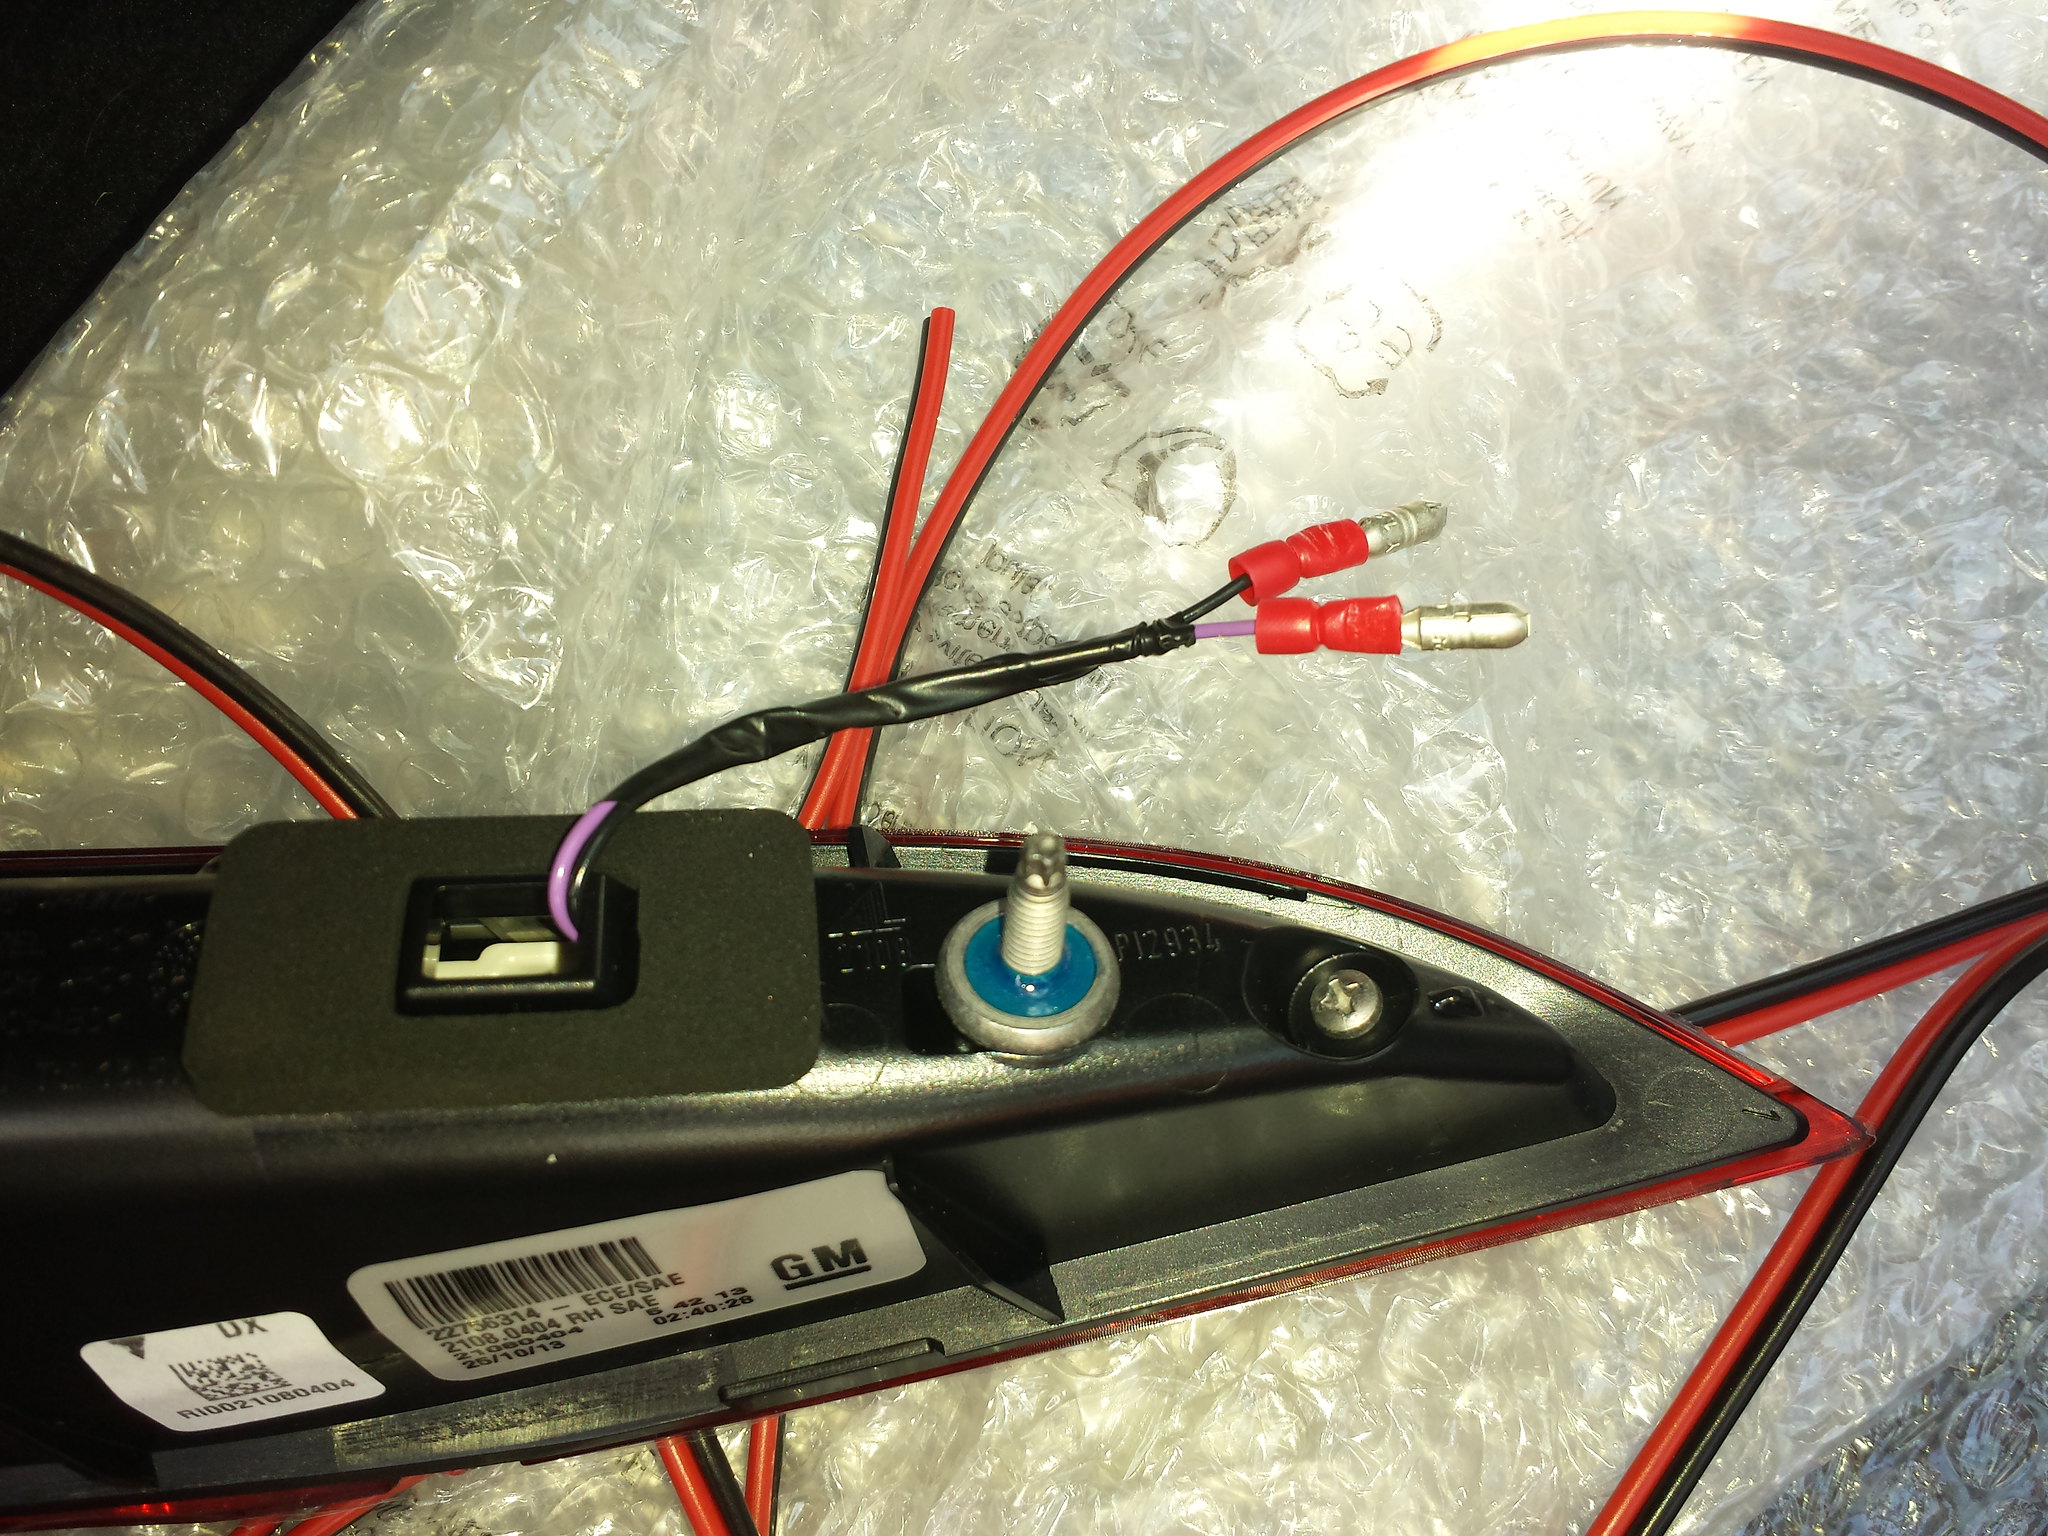
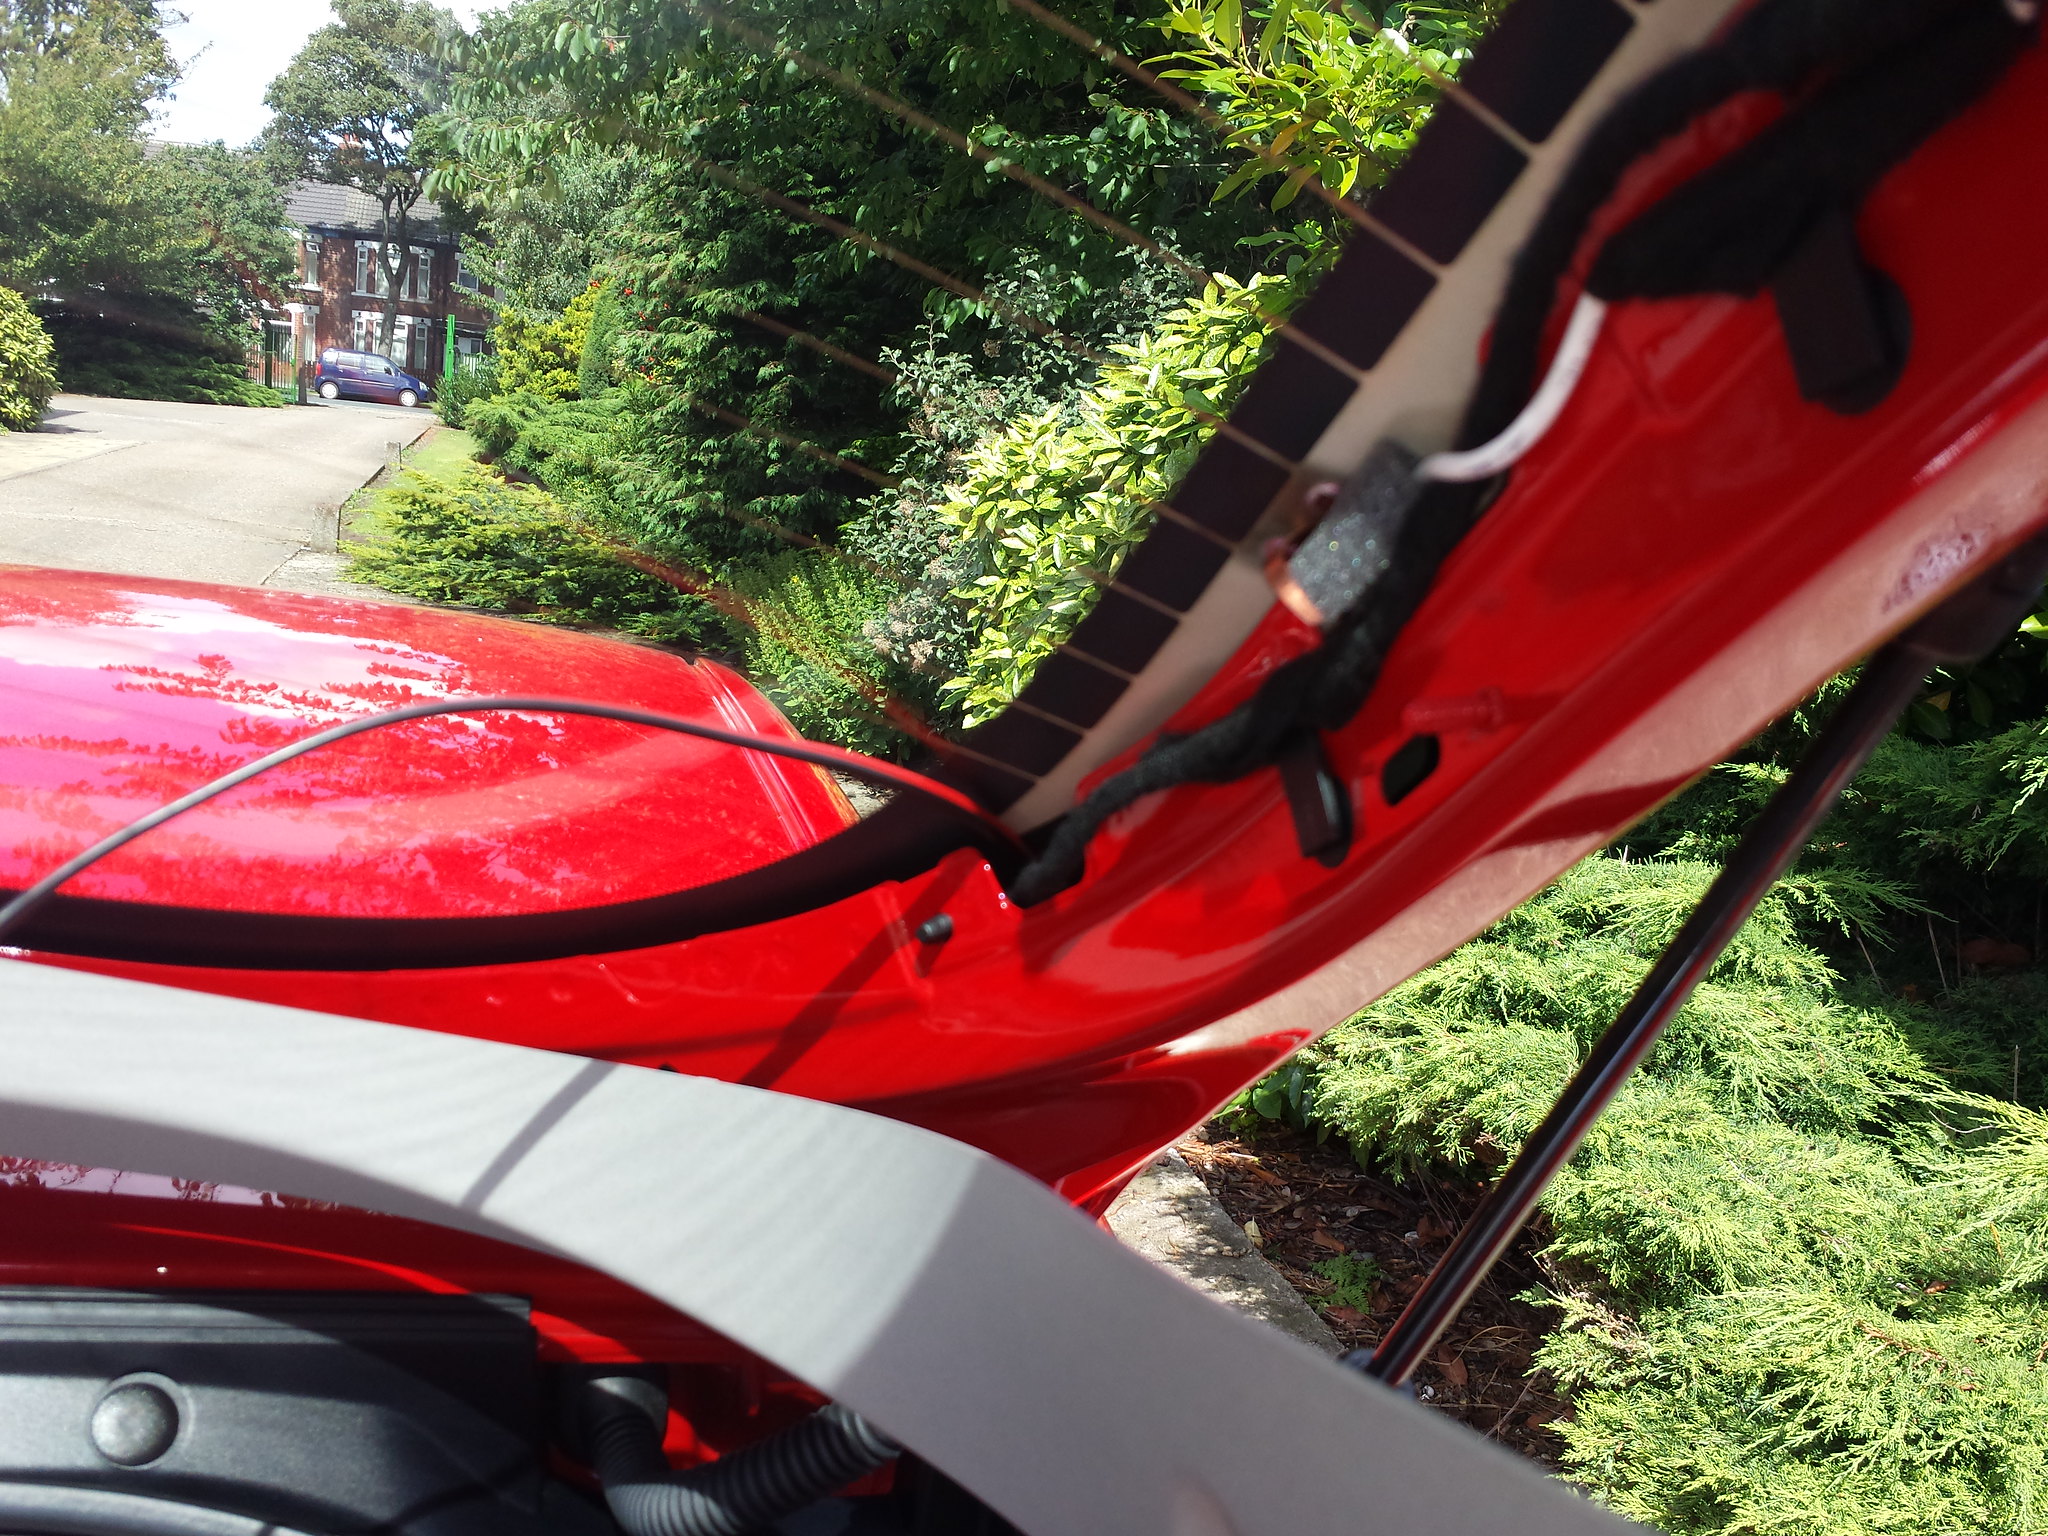
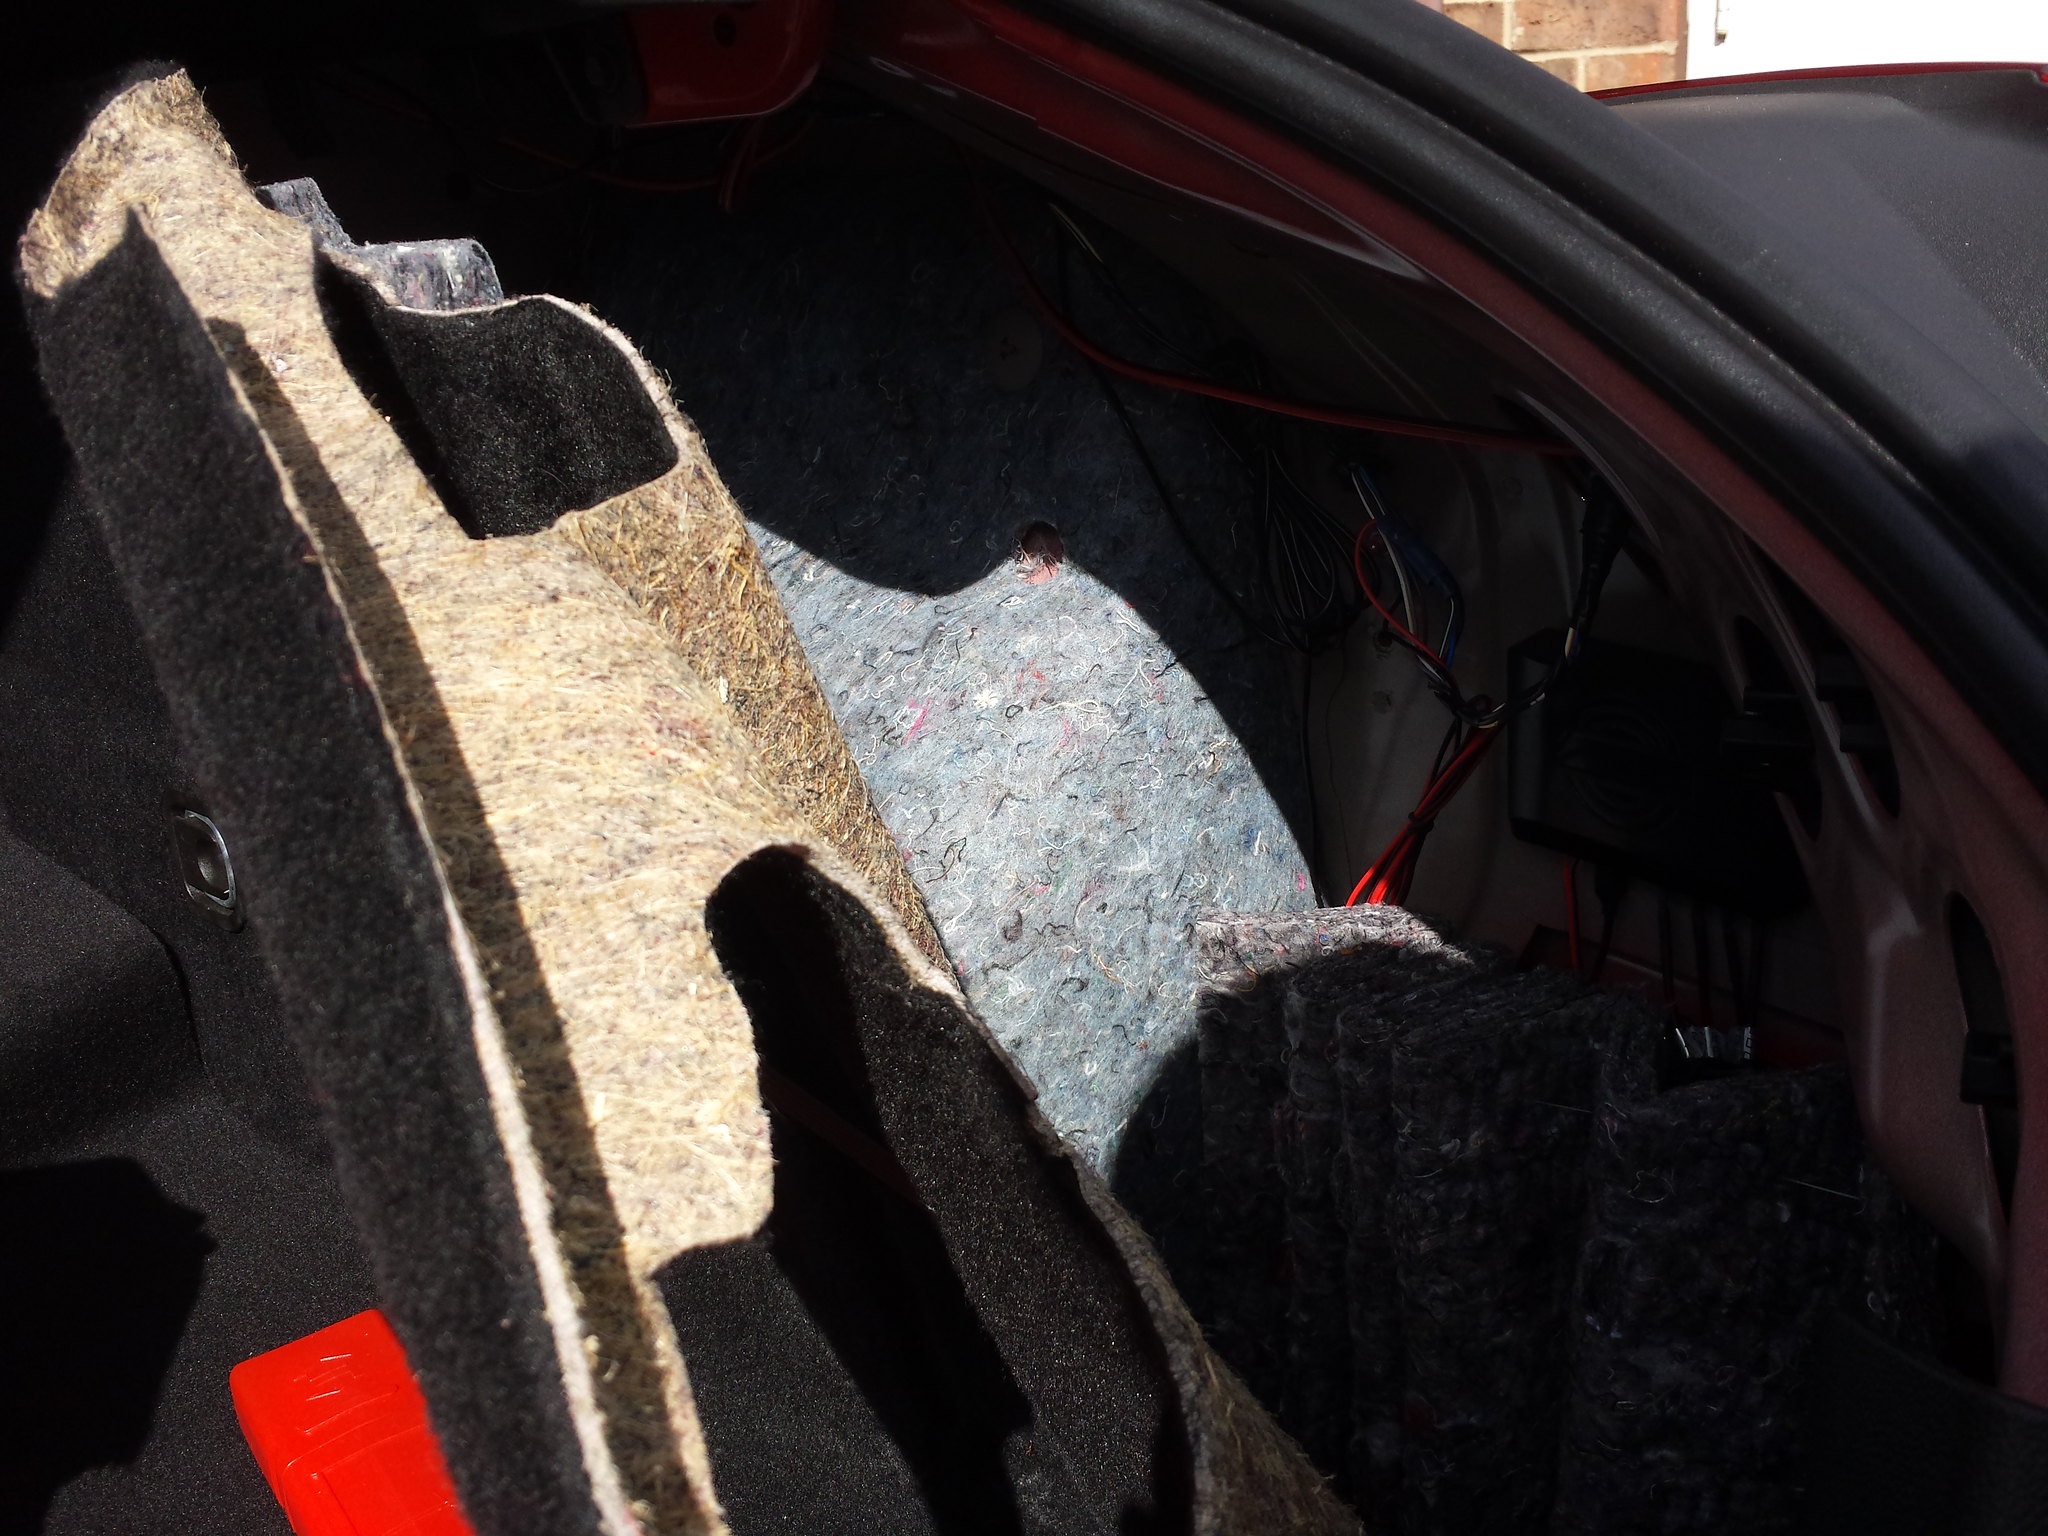
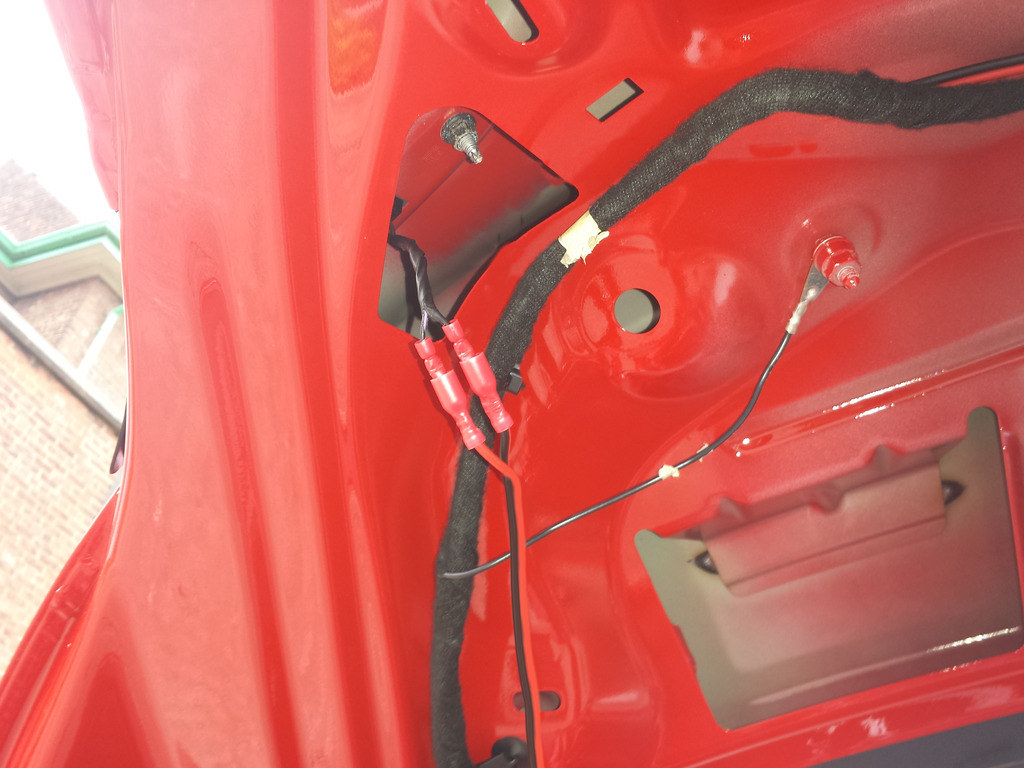
Put the holes were I was advised to but I had to put wires under light as hole in boot was opposite side to hole in lights just don't want to get a wet bootOriginally posted by RBH View Post
Sent from my SM-G975F using Tapatalk
siggy 1.6 vx line from sunny Dumbarton few mods to do to get it how I want itComment
-
Holes????Originally posted by Smig64 View Post
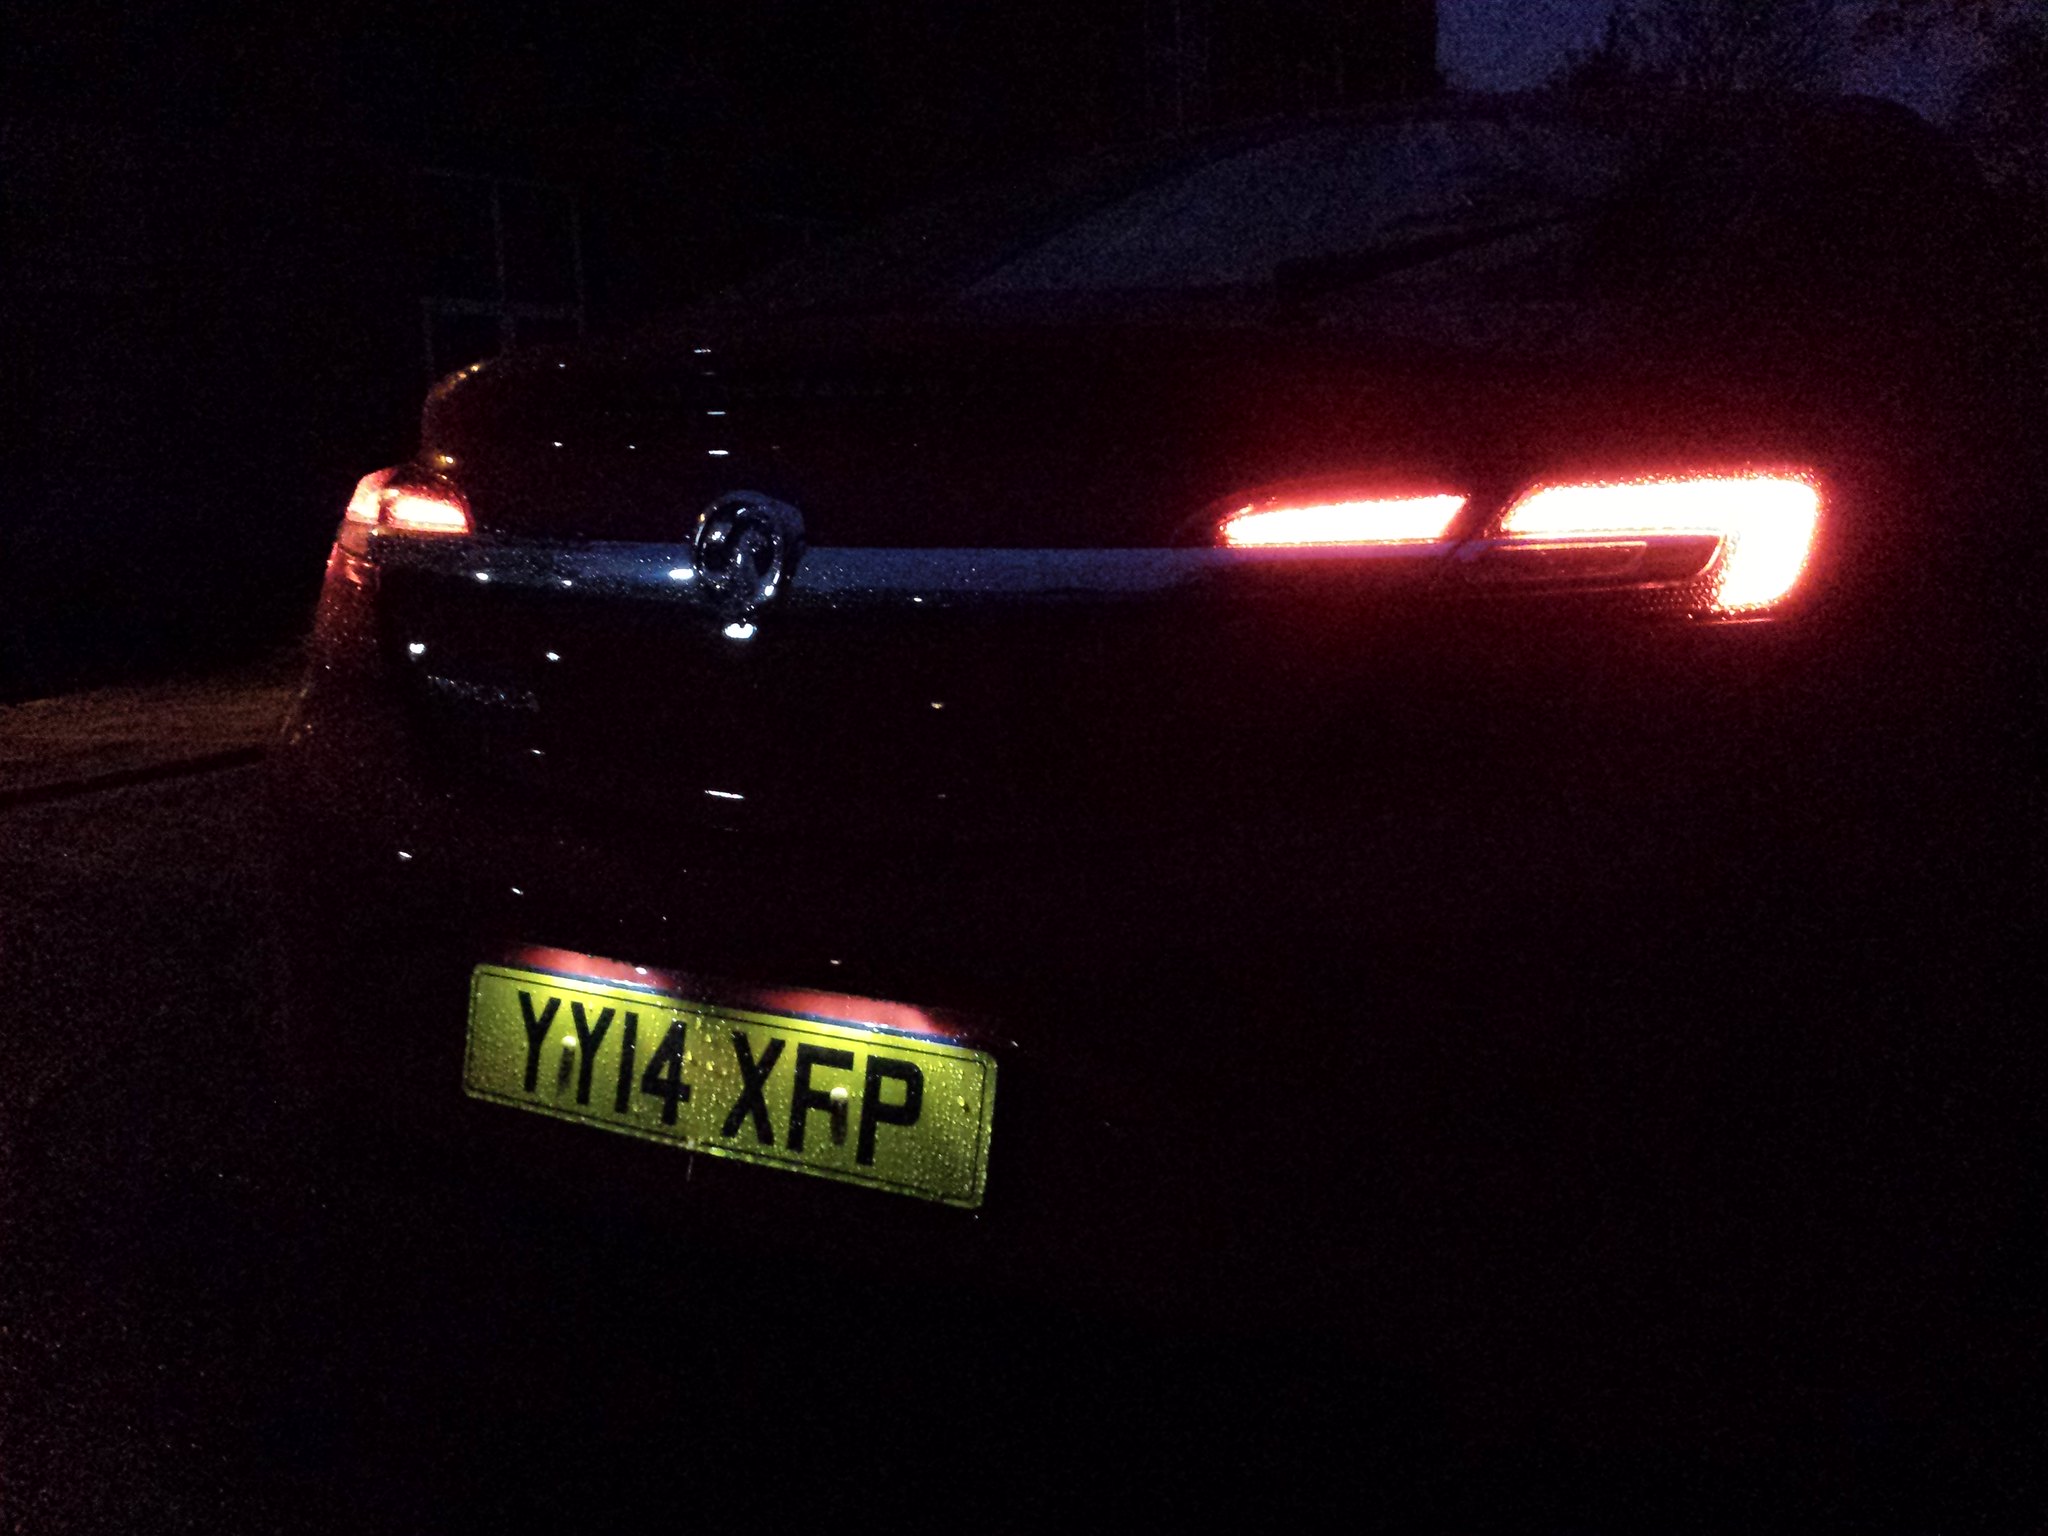
I've done lots of these and to do it properly, so it matches the look of the tail light, the full unit needs cut then it splits into 4 pieces.Comment
-
I looked at trying to separate the lights then reseal wasn't sure if it was a good idea incase it breaks was told to drill a hole in the back of light then reseal with wires sticking out if that makes senceOriginally posted by RBH View Post
Sent from my SM-G975F using Tapatalk
siggy 1.6 vx line from sunny Dumbarton few mods to do to get it how I want itComment
-
the gas man Kel.....can you show Graham pics of your lights mate.Originally posted by Smig64 View Post
ive looked and can't find them mate, sorry .
Graham.....There's about 8 or 9 different sections inside the light....hence why you need to split them to get the right effect.
It's so it matches the tail cluster.Comment


Comment